


Installing composite cladding boards is one of the most transformative upgrades you can make to your home’s exterior. Not only does it add a sophisticated and modern finish, but it also enhances durability, weather resistance, and energy efficiency. Thanks to advancements in product engineering, composite cladding is now more accessible to DIYers who want to take control of their home improvement projects. If you're planning to install composite cladding boards yourself, this comprehensive guide will walk you through the process from preparation to the final finishing touches.
Why Choose Composite Cladding for DIY Projects?
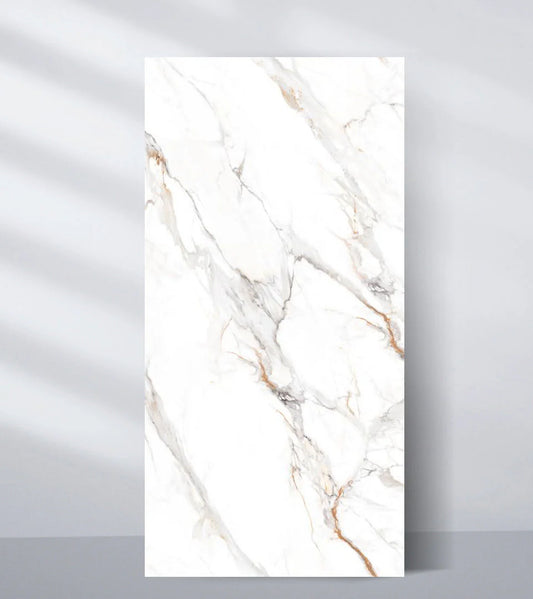
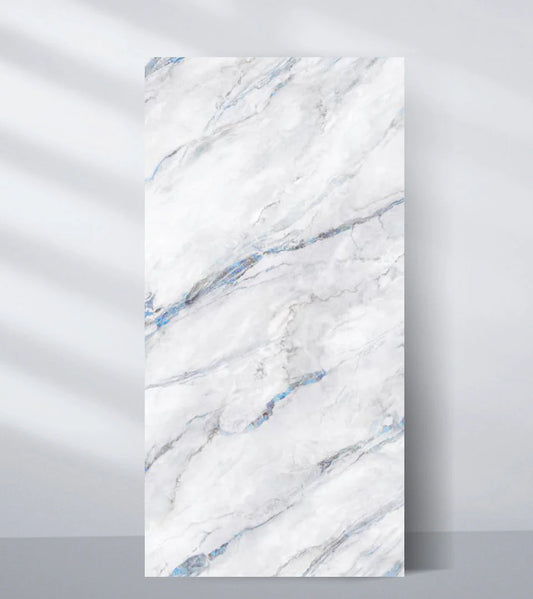
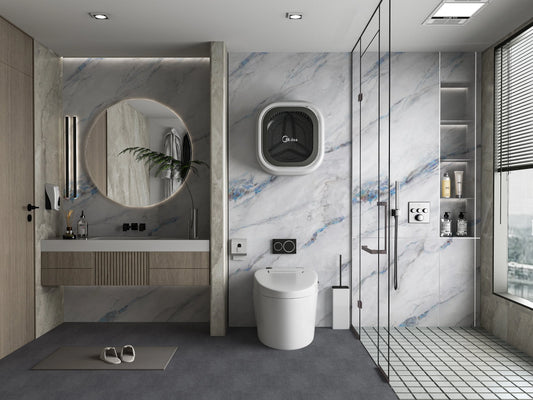
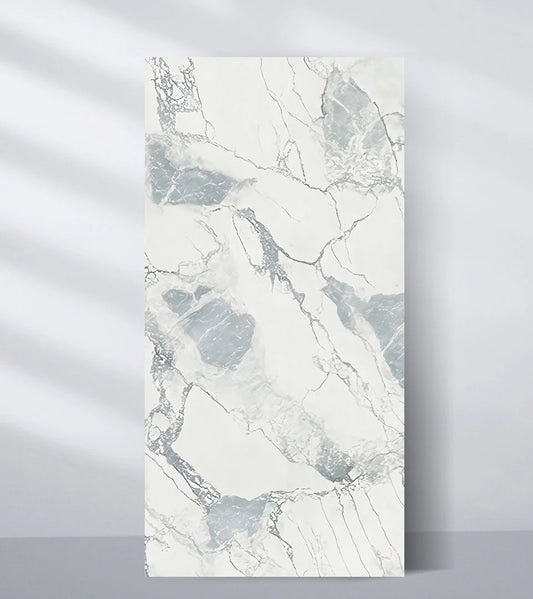
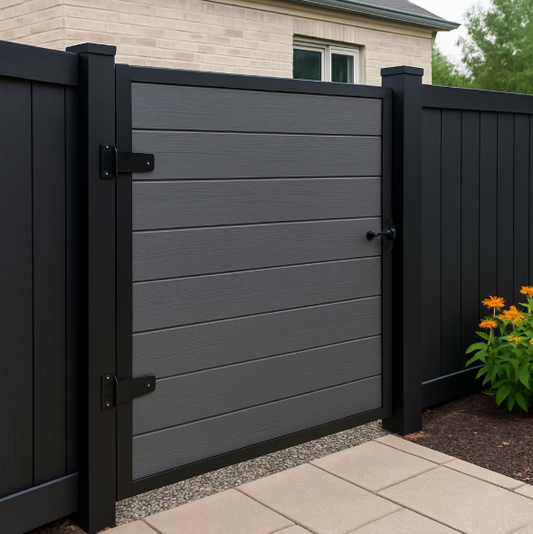
Composite cladding is a favorite among homeowners and DIY enthusiasts due to its combination of beauty, longevity, and low maintenance. Unlike traditional wood, composite boards won’t warp, rot, or require frequent painting. With built-in UV and moisture resistance, they are built to last decades. Most importantly, modern systems come with click-lock or concealed fastener designs, making installation more straightforward than ever before for those with basic carpentry skills.
Step 1: Planning and Measuring Your Wall Space
Before any installation begins, careful planning is key. Start by measuring the total square footage of the wall area you want to cover. Take into account doors, windows, and any architectural features that will affect board layout. Next, sketch out a rough design or layout of the cladding direction horizontal, vertical, or a patterned design like herringbone. This will help you calculate the number of cladding boards, trims, fasteners, battens, and other materials you’ll need.
 |
 |
Step 2: Gather Your Tools and Materials
A smooth DIY experience starts with having the right tools on hand. You’ll need a circular saw with a fine-tooth blade (or a miter saw for angled cuts), a level, measuring tape, drill with screwdriver bits, stainless steel screws or composite fasteners, spacers, and safety gear like gloves and eye protection. For materials, you’ll need your composite cladding boards, starter clips, wall battens (if applicable), corner trims, and edge caps. Check the manufacturer’s installation guide to ensure compatibility with your fasteners and framing system.
Step 3: Prepare the Wall Surface
The wall must be dry, flat, and structurally sound before installation. If you’re applying the cladding over brick or concrete, install vertical timber battens or a ventilated substructure to provide a base for the boards. Ensure the battens are level and spaced according to your board length typically every 400 to 600mm. This subframe allows airflow behind the cladding and prevents moisture buildup, which is critical for long-term performance.
Step 4: Install Starter Clips at the Bottom
The first row of cladding will rest on starter clips or brackets, so precise positioning is essential. Begin by marking a level line at the bottom of your installation area. Attach the starter clips along this line using screws, keeping them evenly spaced. These clips hold the bottom edge of the first board in place and ensure it's aligned perfectly across the wall. An accurate base layer ensures that the rest of the installation remains straight and seamless.
Step 5: Start Laying the Composite Boards
Once the starter clips are secure, insert the first cladding board and press it down until it locks into place. Make sure it's level before moving on. Each subsequent board will slide or clip into the board below it, depending on the profile you’re using. Secure each board to the subframe with stainless steel screws or hidden fasteners, ensuring that fasteners are aligned and the boards are evenly spaced. Continue this process up the wall, checking your level every few rows to avoid drifting.
Step 6: Add Trims and Corner Pieces
To give your cladding a polished look, add trims, edge caps, and corner pieces. L-shaped trims are perfect for corners, while end caps conceal exposed board edges. If you’ve installed cladding around windows or doors, use U-shaped trims or custom cut-outs for a snug fit. These elements not only enhance aesthetics but also protect the edges from moisture and impact. Always pre-drill holes before fastening trims to prevent splitting and ensure a clean installation.
Step 7: Ventilation and Expansion Gaps
Composite cladding expands and contracts with temperature changes, so it’s vital to leave expansion gaps at joints, ends, and around fixtures. Follow the manufacturer’s specifications for gap sizes typically around 5mm. Also, ensure there’s proper airflow behind the cladding boards by leaving a ventilated gap at the top and bottom of the wall. This prevents heat and moisture buildup, which could otherwise compromise the system.
 |
 |
Step 8: Final Touches and Cleanup
After all the boards and trims are in place, inspect the wall for any gaps, loose screws, or uneven panels. Tighten any fasteners if needed and trim any excess materials. Use a soft cloth to wipe off dust or fingerprints. If your cladding boards are pre-finished, there’s no need to paint or seal anything. Clean up the workspace, dispose of any waste properly, and stand back to admire your newly transformed wall.
Safety Tips for DIY Cladding Projects
While composite cladding is user-friendly, it’s important to prioritize safety. Always wear protective gear when cutting or drilling. Use sturdy ladders or scaffolding for higher walls and never work alone if you’re installing boards at elevation. If you’re unsure about any step, consult the product manual or hire a professional to assist with more complex sections, such as curved walls or roof lines.
Why DIY Composite Cladding Is Worth It
Installing composite cladding yourself can save on labor costs and give you the satisfaction of personally upgrading your home’s exterior. Beyond that, it’s a smart investment that pays off in curb appeal, reduced maintenance, and added weather protection. Composite boards are designed with homeowners in mind, offering ease of use, eco-friendliness, and beauty in one package.
Conclusion: Turn Your Vision into Reality
Installing composite cladding boards might seem daunting at first, but with the right planning and tools, it becomes an achievable and rewarding DIY project. It’s the perfect way to elevate your home’s façade with a sleek, modern finish while improving insulation and durability. Whether you’re working on a small outdoor studio or a full house façade, this guide empowers you to take the first step toward a better, more beautiful home.
Ready to begin your transformation? Browse our premium collection of composite cladding boards at Wall Decor and find the perfect design for your next home project. Our expert team is here to assist you at every step from product selection to post-installation care.
Tags:
Previous
Composite Cladding Boards vs Vinyl: Which Is Better for Your Walls?
Next
Modern Exterior Designs Using Composite Cladding Boards
Related articles


-
Sep 05 2025

