

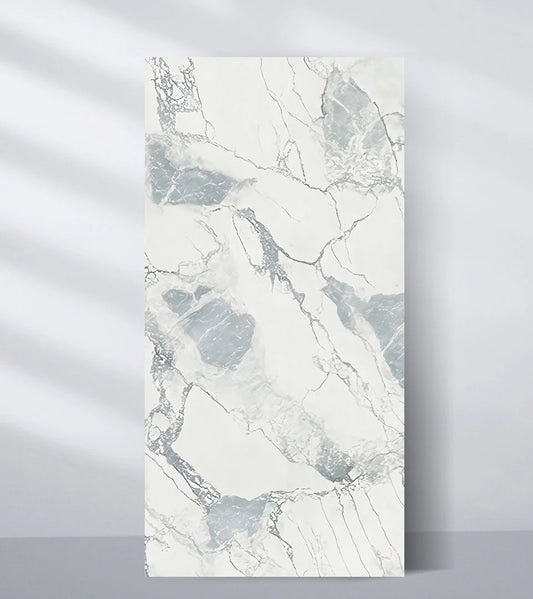
When it comes to installing decorative wall panels, it’s the trims that truly complete the look. Whether you're working with PVC marble panels, WPC slats, or acoustic wood panels, trims provide the clean edges, corner finishes, and transitions that give your space a professional and seamless appearance.
If you're planning a DIY project or even supervising a contractor, knowing how to install wall panel trims properly can save time, ensure long-lasting results, and elevate your interior aesthetics. In this detailed guide, we’ll walk you through the entire process of wall panel trim installation, from preparation to final touches.
Why Trims Matter in Wall Panel Installations
Before diving into the steps, it's important to understand why trims are essential:
- They hide rough or exposed panel edges
- Prevent moisture or dust from entering behind panels
- Create neat transitions between panels, walls, ceilings, and floors
- Enhance the visual flow and add architectural detail
Whether you're using L-trims, T-joints, end caps, or corner trims, proper installation is key to getting that refined designer look.
Tools & Materials You'll Need
To install wall panel trims effectively, gather the following:
- Trims (L-trim, end caps, inside/outside corner trims, etc.)
- Decorative wall panels (PVC, WPC, acoustic, etc.)
- Adhesive (panel glue or construction adhesive)
- Measuring tape
- Fine-tooth saw or trim cutter
- Level
- Caulking gun (optional for sealing)
- Pencil and masking tape
- Sandpaper (for smoothing edges)
- Screws/nails (for heavy-duty trims, optional)
 |
 |
Step 1: Plan the Layout and Select the Right Trims
Every panel layout is different. Start by sketching out the wall surface and identifying all edges, corners, and joints where trims will be needed.
- Use L-trims for outside edges
- End caps for open panel edges
- T-joints where two panels meet
- Inside or outside corner trims for room corners
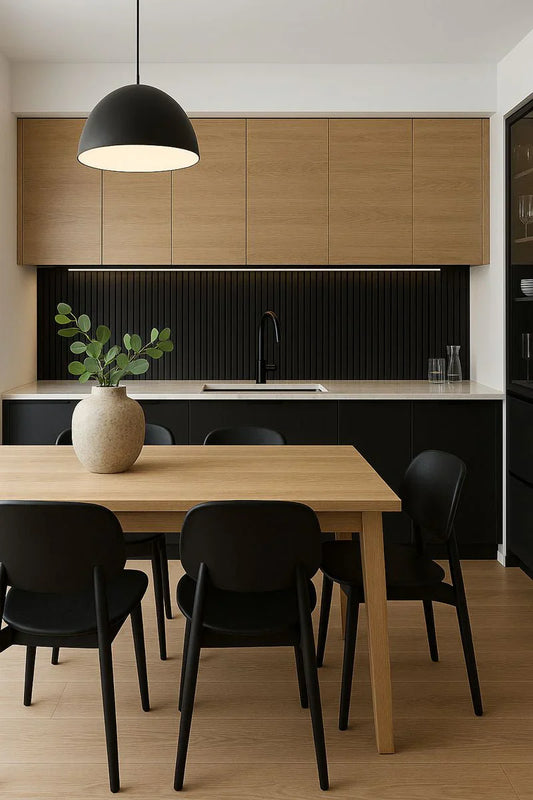
Choose trims that match the thickness of your wall panels (usually 6mm, 9mm, or 12mm) and coordinate with your panel finish (e.g., black for oak panels, silver for marble sheets).
Step 2: Measure and Pre-Cut Your Trims
Once you’ve marked where each trim will go, use a measuring tape to get exact dimensions. Then pre-cut the trims using a fine-tooth saw or trim cutter for clean, sharp edges.
Tips:
- Double-check measurements before cutting
- Use a mitre saw for 45-degree corners if trims need to wrap around columns or corners
- Smooth the cut ends with light sandpaper to avoid splinters or jagged lines
Step 3: Dry Fit the Trims Before Applying Adhesive
Before gluing anything, dry-fit each trim piece against the wall and panel edges. This step helps verify that:
- Each trim sits flush with the panel
- The angles and lengths are correct
- There’s no bending or misalignment
Use masking tape to hold trims temporarily in place during this step.
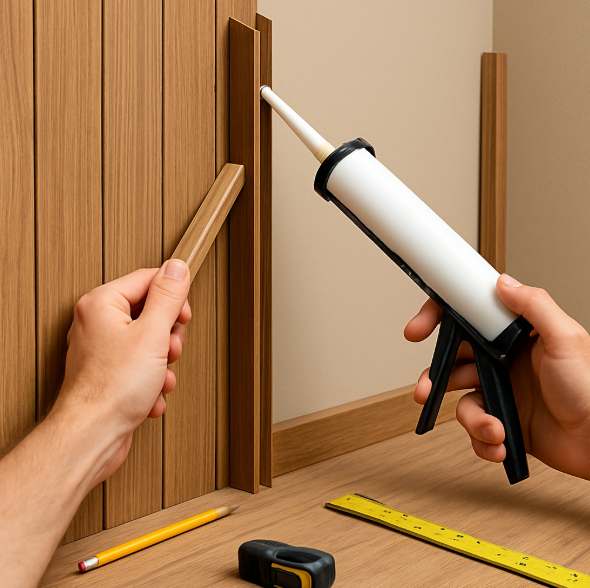
Step 4: Apply Adhesive or Mounting Method
Depending on the trim type and wall surface, you can use:
- Panel adhesive: Ideal for PVC and composite trims
- Construction adhesive: Great for heavy trims or irregular walls
- Screws/nails: Used for thicker or load-bearing trims (especially in commercial settings)
Apply adhesive evenly along the back inner edges of the trim using a caulking gun. Avoid over-applying, as glue overflow can create a messy look.
 |
 |
Step 5: Attach the Trims to the Wall Panels
Once the adhesive is applied:
- Press the trim firmly onto the panel edge and wall surface
- Use a level to ensure it’s perfectly vertical or horizontal
- Hold in place for a few minutes (or tape it down temporarily)
- If using screws, drill them in gently without cracking the trim
Continue this process for each piece, checking alignment after every install.
Step 6: Fill Gaps and Finish the Edges
After all trims are attached and adhesive has set (typically 12–24 hours):
- Use a color-matched caulk to fill small gaps, joints, or corners
- Smooth the caulk with your finger or a finishing tool
- Clean off excess adhesive or dust from the surface
- For wood trims, consider applying a sealant or finish coat if needed
This step gives your wall paneling that final polished touch free of gaps, cracks, or unfinished edges.
Step 7: Clean and Inspect the Installation
Once all trims are in place:
- Wipe down the panels and trims with a dry or slightly damp cloth
- Inspect each joint to ensure it is flush and secure
- Take a step back and admire your professional-looking wall transformation
If any trims feel loose or uneven, reapply adhesive or adjust with minor sanding or filler.
Expert Tips for Perfect Trim Installation
- Always install trims after panel placement not before
- If using metallic or glossy trims, wear gloves to avoid fingerprints
- Consider LED strip integration behind trims for feature walls
- For curved walls, heat-flexible PVC trims may be easier to work with
- Use color-matched screws or caps if visible fasteners are required
Common Mistakes to Avoid
Even experienced installers can make simple mistakes. Avoid these common issues:
- Misaligned trims due to skipping dry fitting
- Cutting without accounting for angles
- Using too much adhesive or the wrong glue type
- Installing trims before panels
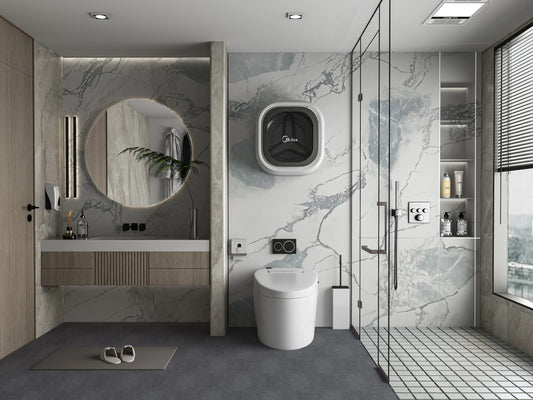
- Not sealing edges in moisture-prone areas (like bathrooms or kitchens)
Avoiding these mistakes can save time, reduce waste, and produce better results.
When to Call a Professional
While many wall panel trim installations can be done DIY, certain situations benefit from professional help:
- Large commercial spaces requiring precision alignment
- Curved or irregular wall surfaces
- LED lighting or electrical integrations with trim
- High-end custom panels with expensive finishes
If the stakes are high or the job is large-scale, investing in a trained installer ensures a flawless finish.
Final Thoughts
Installing wall panel trims isn’t just a finishing step it’s what makes your wall paneling look custom, clean, and high-end. With the right materials, a little planning, and careful execution, even a DIYer can install trims like a pro.
From sleek L-trims for minimal designs to bold corner trims for standout features, the right installation ensures your decorative wall panels not only look great but last for years with structural integrity and visual harmony.
Tags:
Previous
Modern Trim Designs That Instantly Elevate Your Wall Decor
Next
Interior Trim Accessories That Complete the Look of Your Wall Panels