


Installing wall panels is a rewarding way to enhance your interiors, but the finishing touches matter just as much as the main panels themselves. One element that’s often overlooked or rushed through is the installation of wall panel trims. Trims aren’t just decorative; they serve an essential purpose in creating clean edges, hiding gaps, and giving your space that polished, professional finish.
But even the best-looking wall panels can lose their appeal if the trims are poorly installed. Whether you’re working with PVC marble sheets, acoustic slats, or composite wood panels, avoiding the most common mistakes during trim installation can make all the difference.
Here are the top five mistakes to watch out for when installing wall panel trims and how to do it right the first time.
1. Not Choosing the Right Trim Type for the Application
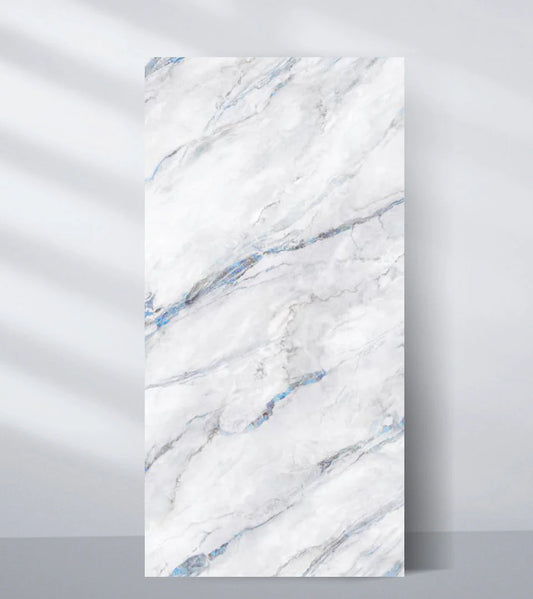
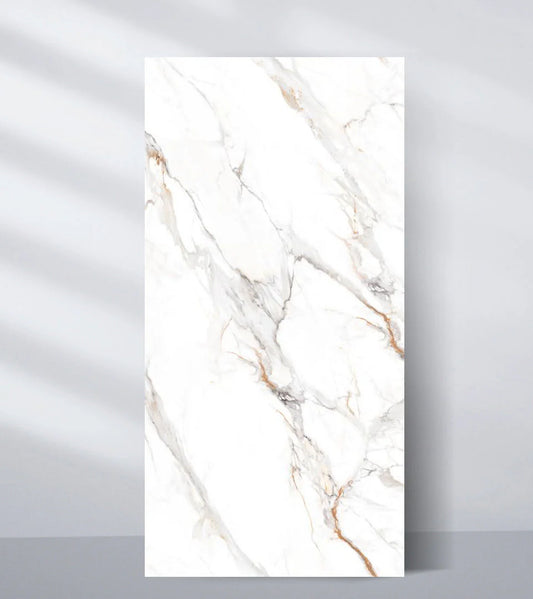
The first and most common mistake is using the wrong type of trim or not using one at all. Each area of your wall panel installation requires a specific type of trim. For example, L-trims are designed for external corners, T-trims connect two panels side by side, end caps are used for exposed edges, and corner trims handle internal or external corners. Skipping the proper trim or using a one-size-fits-all approach can result in misalignment, visible seams, or an awkward appearance.
Before starting your project, it’s essential to understand your panel layout and select the right trims for each section. A trim that fits well and complements the panel material not only enhances the design but also ensures a more durable and long-lasting result.
2. Failing to Measure and Cut Accurately
Precision is everything when it comes to trim installation. A trim piece that’s just a few millimeters too short or misaligned can ruin the visual flow of your wall. Many DIYers make the mistake of eyeballing measurements or rushing the cutting process, resulting in trims that don’t sit flush or leave gaps at the corners.
To avoid this, always use a tape measure, level, and fine-tooth saw for clean, accurate cuts. For corners, consider using a mitre box to achieve perfect 45-degree angles. It may take a little more time upfront, but precise cuts will save you the headache of patching mistakes later on.
 |
 |
3. Using the Wrong Adhesive or Fastening Method
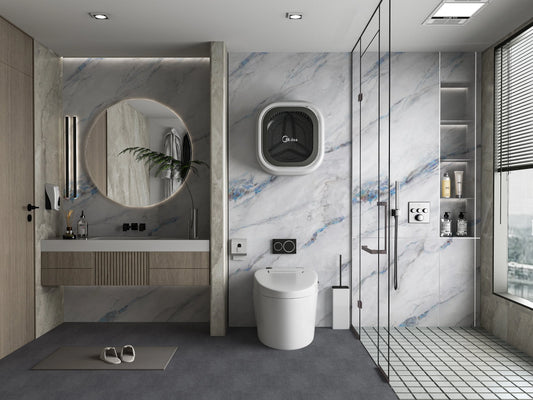
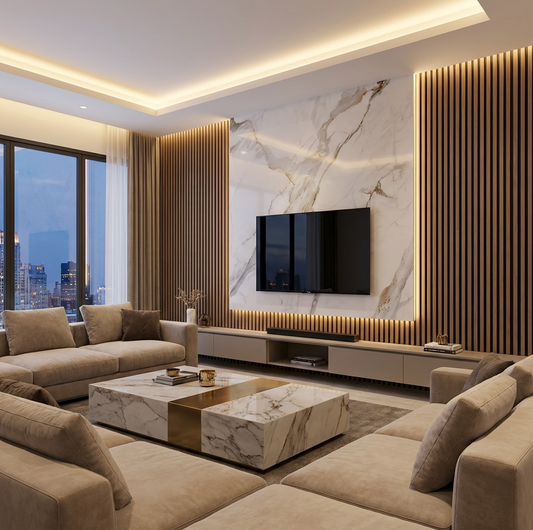
Another big mistake is choosing an adhesive that isn’t suitable for the trim material or the wall surface. Some adhesives don’t bond well with PVC or metal, while others may cause warping if applied unevenly. In high-moisture areas like bathrooms or kitchens, using an inappropriate adhesive can lead to separation over time.
For most trims, a strong panel adhesive or construction-grade adhesive is best. Apply it evenly along the back of the trim and press it firmly into place. For heavier trims or in commercial settings, screws or nails may be necessary. Always read product recommendations and test a small area if unsure. A secure, clean bond will ensure your trims stay in place and look great for years to come.
4. Ignoring Surface Preparation Before Installation
Even the best trims won’t adhere properly if the surface they’re going on is dusty, oily, or uneven. Skipping prep work is a common mistake that leads to poor adhesion, lifting trims, or uneven application. The result? A wall that looks unfinished or sloppy.
Before applying any trims, be sure the wall surface is clean, dry, and smooth. Use a cloth to remove dust, grease, or debris, and lightly sand rough areas if necessary. For freshly painted walls, allow adequate drying time before installing trims. A properly prepared surface is the foundation of a clean, seamless finish.
 |
 |
5. Overlooking the Importance of Alignment and Finishing
Wall trims are meant to enhance the aesthetic, not distract from it. If the trims aren’t aligned properly whether they’re tilting, gapping at the joints, or not level it can break the symmetry of your design. This often happens when trims are installed without checking alignment during the process.
Take the time to use a level with every piece, especially with long vertical trims or edge pieces that extend from floor to ceiling. Step back and inspect the wall regularly as you install. Once all trims are applied, use color-matched caulk or filler to close any small gaps between trim sections. This not only hides imperfections but also provides a cohesive, finished look.
Final Thoughts: Avoid Mistakes, Achieve Perfection
Wall panel trims may seem like a small detail, but they are crucial in elevating your entire interior design. By avoiding these five common mistakes choosing the wrong trim type, mismeasuring, using poor adhesive, skipping surface prep, and neglecting alignment you can ensure your panel installation looks flawless and professionally done.
At Wall Decor, we offer a full selection of high-quality trim accessories tailored for PVC, WPC, acoustic, and composite wall panels. Whether you’re taking on a DIY home upgrade or working with a contractor, the right trims and the right techniques make all the difference.
Shop Interior Trim Accessories
Explore our collection to find trims that match your panels and bring your vision to life:
👉 Wall Decor Trim Collection
Tags:
Previous
Interior Trim Accessories That Complete the Look of Your Wall Panels
Next
L-Trims, Corner Trims & End Caps: What They Are and When to Use Them