

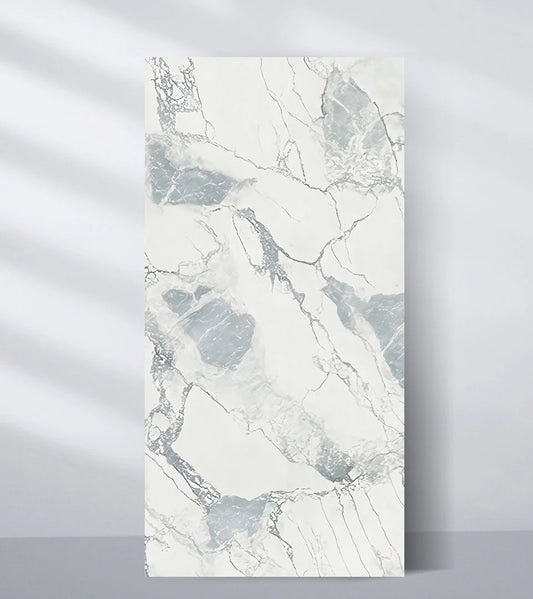

Modern interior design has been transformed by the introduction of 3D PVC marble sheets. Homeowners choose this affordable stylish wall cladding solution instead of using real marble or tiles or painting their walls. The process of learning 3D PVC marble sheet installation will help you achieve your goal of home interior transformation without creating mess or spending excessive time or money.
The complete guide shows you how to ready your surface before you can finish installing 3D PVC marble sheets. The following instructions guide both new DIYers and experienced users through successful 3D PVC marble panel installation.
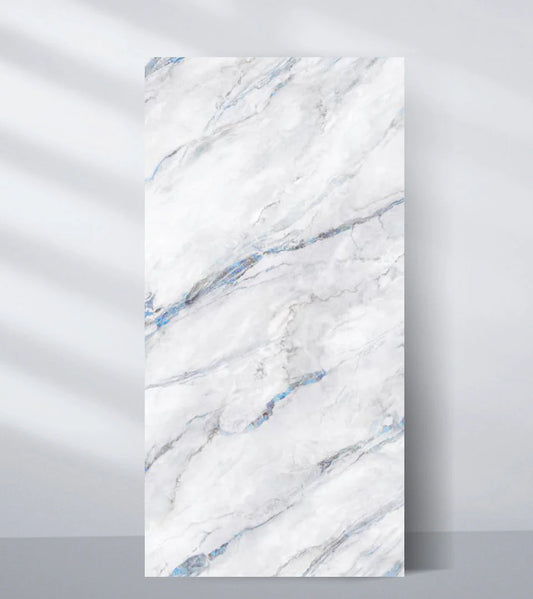
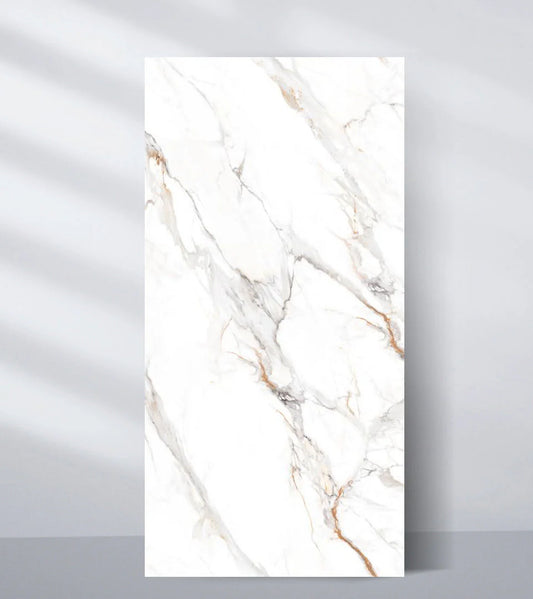
Why Choose 3D PVC Marble Sheets?
Homeowners choose 3D PVC marble wall panels because of their popular features which include:
Lightweight and Easy to Handle
The lightweight nature of PVC marble sheets allows for simple transportation and installation without needing specialized lifting tools. PVC marble sheets provide an affordable solution to achieve marble appearance for home renovation projects.
Moisture & Termite Resistant
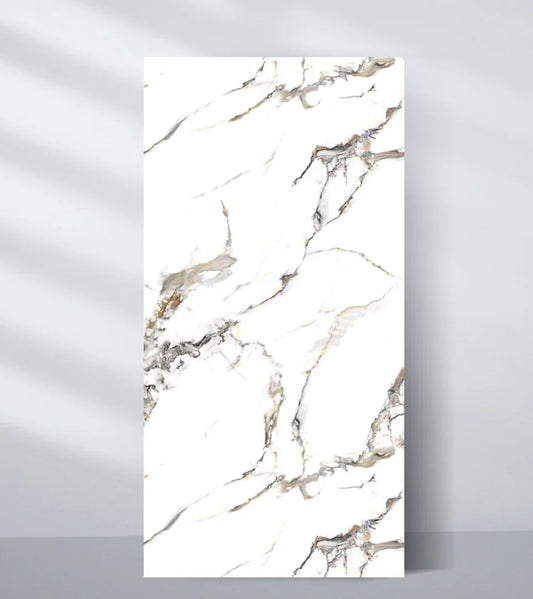
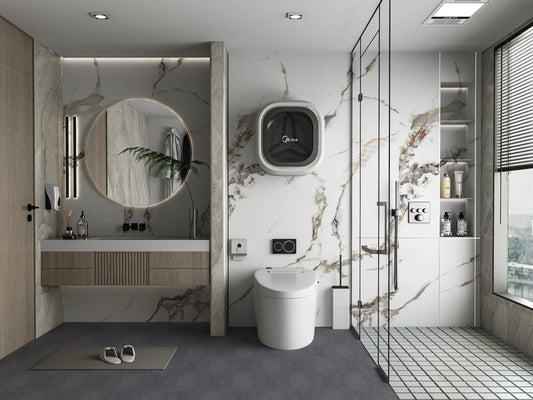
These panels work well in kitchens and bathrooms and basements because they stay resistant to humidity and warping. The panels require only a damp cloth for cleaning which keeps their surface shiny without needing any sealing or polishing. The 3D surface design creates a premium appearance through its elegant texture and glossy finish.
 |
 |
Tools and Materials You’ll Need
The installation process requires collection of specific tools and materials before beginning work.
Essential Tools:
- Measuring tape
- Pencil and ruler
- Level tool
- PVC panel cutter
- Adhesive glue
- Caulking gun
- Roller or flat scraper
- Clean cloth or sponge
- Safety gloves
Optional Tools:
- Jigsaw (for cutting around sockets or corners)
- Drill machine (for screwing if needed)
Step-by-Step Installation Process
The installation process of PVC marble wall panels remains easy to perform. The following basic steps will help to accomplish the wall transformation.
Step 1: Prepare the Surface
You need to make sure that the wall surface should meets three conditions.
- The wall needs to be free from dust and grease and paint peeling before starting.
- The wall needs to be completely dry before you begin.
- The wall surface needs to be perfectly flat because any irregularities must be filled before starting.
The application of plywood or cement board as a flat backing layer becomes necessary when your wall surface shows major irregularities.
Step 2: Measure and Plan the Layout
- Use a measuring tape to determine your wall dimensions by measuring its height and width.
- The number of panels needed depends on the panel dimensions which usually come in 8ft x 2ft or 10ft x 2ft sizes.
- The panel arrangement should place cut sections at corners and sections that will remain hidden from view.
- Use a level tool and pencil to create straight lines on the wall which will help you achieve correct row alignment.
Step 3: Cut the Panels
Use a panel cutter to cut the PVC sheets based on your desired measurements. When working near electrical sockets and pipes you should follow these steps:
- Draw exact boundaries where you need to cut.
- The jigsaw tool or utility knife will help you achieve clean cuts.
- Check the piece that should position correctly prior to applying adhesive.
Step 4: Apply Adhesive to the Back
Apply PU glue or high-quality silicone adhesive to the back of each panel through an "S" or zig-zag pattern. A caulking gun helps users achieve uniform application of the adhesive.
The adhesive should be applied in such a way that both edges must be covered and the center for perfect bonding.
Step 5: Position the Panel on the Wall
- Use strong but controlled force to attach the panel to the wall.
- Use a rubber roller or scraper to remove air bubbles while ensuring the panel extends to the full surface area.
- Begin your work at the wall corner then move across in sequential rows.
 |
 |
Where Can You Install 3D PVC Marble Sheets?
The panels has several purposes because they work well in different interior areas.
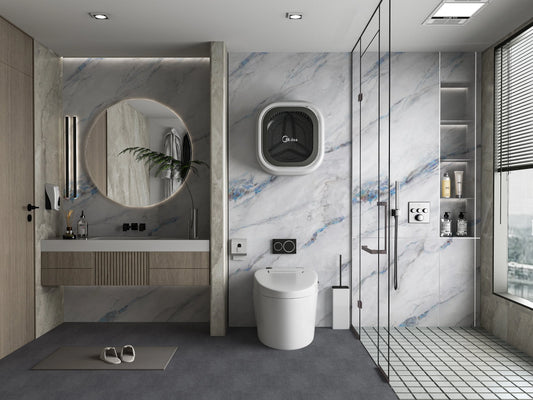
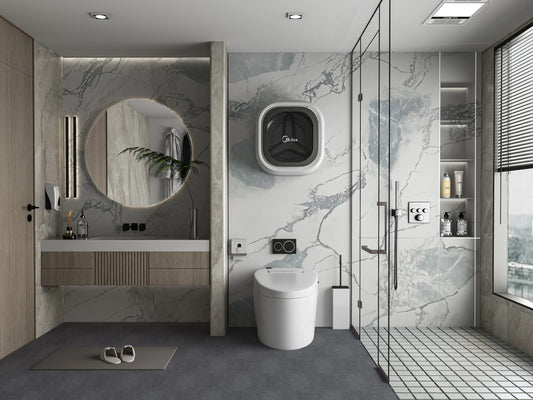
- Bathrooms & Powder Rooms: waterproof and easy to clean.
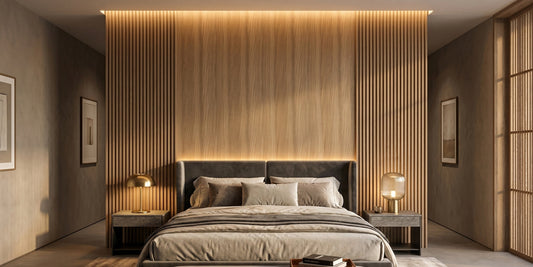
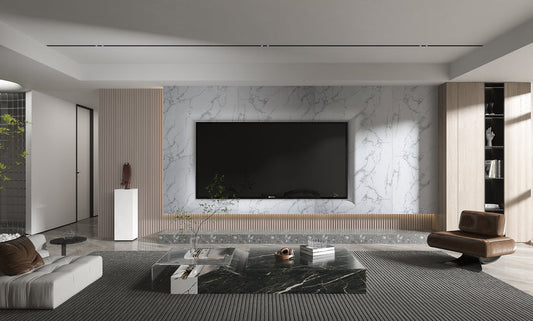
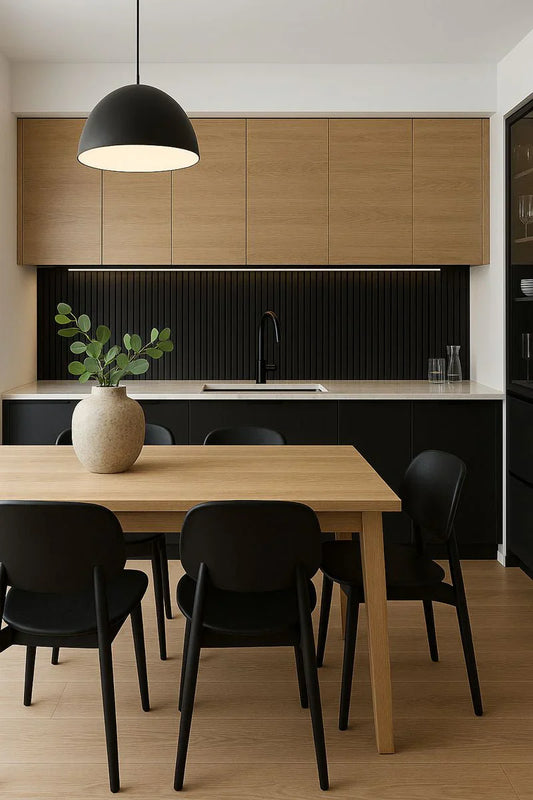
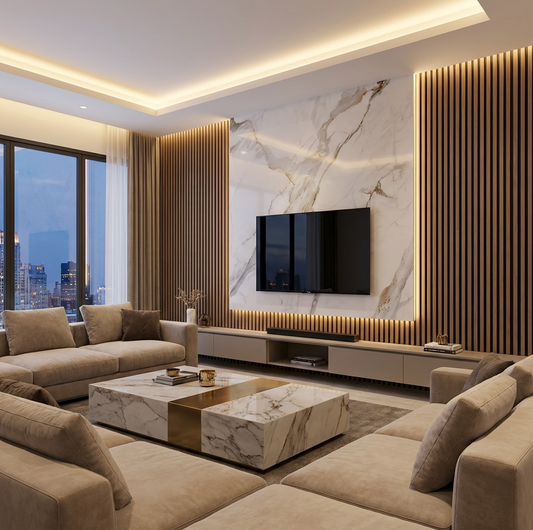
- Living Rooms: The panels function as decorative elements which can frame your TV or fireplace display.
- Kitchen Backsplashes: The panels provide heat resistance and stain protection within their designated temperature range.
- Hallways & Entryways: The panels enhance the beauty of areas that experience heavy foot traffic.
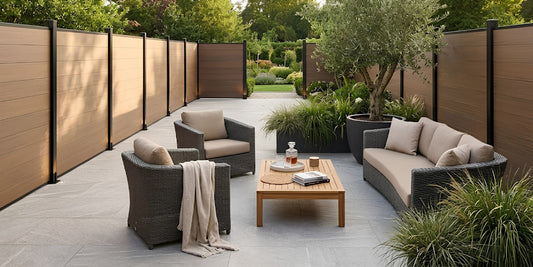
- The premium look of these panels makes them suitable for commercial spaces including offices and salons and cafes and retail stores.
Bonus Keyword: “Best places to use PVC marble wall panels in home”
Common Installation Mistakes to Avoid
- Skipping Surface Prep
The surface irregularities and dirt contamination between panels creates weak bonding points which result in future panel separation. - Using the Wrong Adhesive
PVC requires specific adhesives because standard glues fail to bond with this material. The adhesive selection should be strong and waterproof and specifically designed for PVC materials. - No Expansion Gap
The material expands slightly when it reaches high temperatures. The edges require a 2–3mm expansion gap for proper installation.
Final Thoughts
The installation process of 3D PVC marble sheets represents a satisfying DIY home improvement task which you can successfully complete. The panels present a sophisticated marble design at affordable prices while providing waterproof and durable protection for any interior area. The PVC marble wall panels represent an ideal home improvement solution because they offer both fashionable design and useful advantages for all areas of your residence. You can create an impressive room transformation through weekend work with basic tools and minimal professional help. You can begin your home improvement journey by purchasing these panels to enhance your living space.
Tags:
Previous
10 Stunning Interior Design Ideas Using 3D PVC Marble Wall Panels
Next
Bathroom Makeovers on a Budget: Use 3D PVC Marble Sheets for a Luxe Finish